A few years ago I was in the habit of printing every picture I took and neatly placing them in a photo album. Honestly back in the film days you had to do this if you wanted to see your pictures, but I continued this even in the early digital days. Did you ever go to Walgreens and insert your sd card to edit your pics on the kiosk??? Wow! I used to think this was the easiest way until they started knowing my name at the kiosk and I realized that my shelves were drooping under the weight of mismatched albums. It took hours to find specific photos and most of the time I had like 7 photos of the same picture.
Over the past couple of years I have implemented a new photo system and have tweaked it to work perfectly for us. The steps are below and I hope you try them.
Here's to SD cards with space, photo albums with only the best, and no more film!!!
Step One: Taking the Pictures
We take TONS of pictures. We are by no means photographers but hey sometimes we pretend. We leave our camera out so we can grab it quick. No excuses for missing sweet photo ops. I used to get so annoyed with Joe because he literally takes 17 photos at a time and then I would have to go and delete the 'no good' ones where everyone is looking confused because they thought our picture was over 5 minutes ago. Now I just leave them because there is an easier way to delete the masses than one click at a time.
Step Two: Uploading the Pictures to your Computer
Each camera is different so just brush up on your manual instructions for uploading your pictures to your computer. Most of the time your computer will prompt you with instructions once you connect the camera with a usb cord. We have a mac so iphoto brings up all our photos currently on the camera and divides them up by date (so nice). I click import all photos and then once it's done I copy them all and save them to my external hard drive. We bought the hard drive at Best Buy for like $50 and it has enough room to store an entire library of photo albums.
Even if you have family photos done my a professional photographer, they usually give you a dvd of pictures. Simply take that dvd and insert it into your computer and then save the pictures to your hard drive.
Step Three: Filing the Pictures
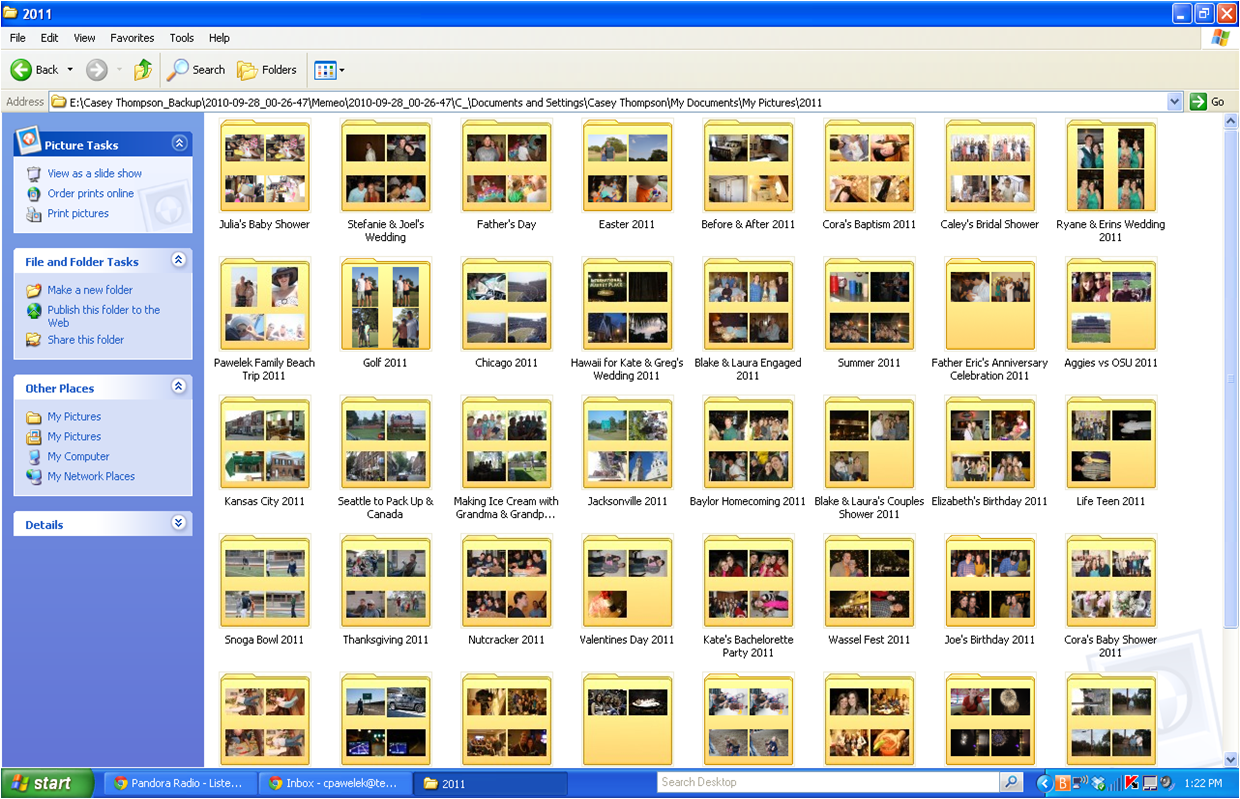
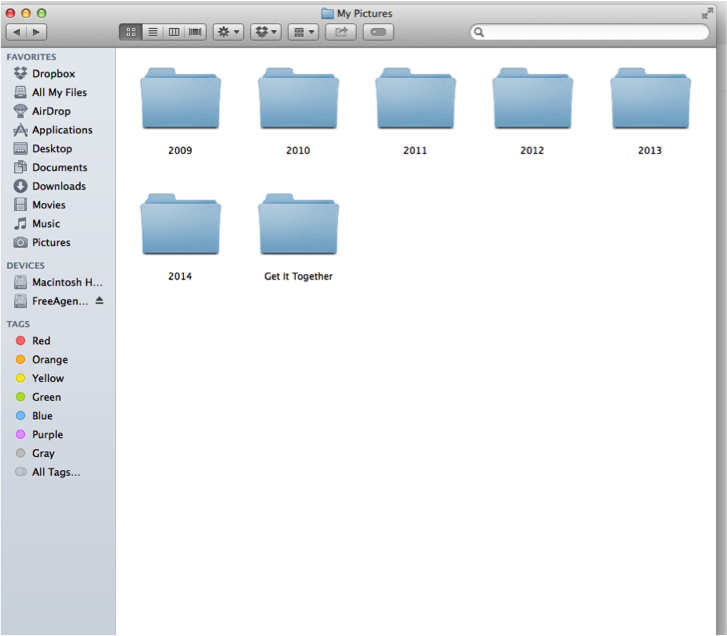
This is the boring part for some but really gets me going! The filing system is important when it comes to looking at your pictures later on. These are the files folders that work for us: Pictures>Year>Month-Event. You can see in the print screens below how it works. The most helpful part is the month because it keeps your pictures in chronological order and then the title of the event is self explanatory.

Step Four:Deleting your photos
This is the hard part, I KNOW! I accidentally deleted the pictures Joe and I took together the night he proposed. gut. wrenching. BUT this is key to saving space on your camera and not duplicating pictures. After you upload the pictures to your camera, DELETE THEM! You have them saved so you don't need them in several places, it's just digital clutter.
Step Five: Back up your Back up
I believe there is a sex and the city episode about this. What if something happens to the external hard drive that stores all of my pictures? Well that thought gives me sweaty anxiety so we back up all our external hard drive files onto another external hard drive that Joe keeps at work. In case of emergency (knock on wood) we have a back up back up.
Step Six: Displaying your Pictures
Now that you have all of your pictures filed in organized fashion, you can print them in seconds to fill those empty frames around the house. A tradition Joe and I started was to create family yearbooks. We take our favorite pictures (favorite, not all) and design a custom book online. You can view the year in a book that is as thin as a magazine spine. We have used My Publisher for the past 2 years and have been very pleased with their products. Check them out HERE! They always have special offers and savings. We usually wait until they have free additional pages.


No comments:
Post a Comment